Showing posts with label craftiness. Show all posts

Friday, April 25, 2014

A Sort-Of Organized Kids' Closet


I am weird for lots of reasons, but one of them is my obsession for the way my laundry is folded. I don’t like to have anyone help me with laundry because they don’t fold things exactly the way I like them. Yeah, I’m the mom that should be giving my kids responsibilities like putting their own laundry away but instead I’m too worried they’ll do it wrong.

Time to lighten.up.

I have come to the conclusion that raising children that grow up to be contributing members of society really should be IS more important to me than how their clothing looks folded up on the shelf. But since I’m still…me…I couldn’t just leave it the way it was and give the kids a “good luck!” I had to tweak it a little with the (possibly unrealistic) hope that it will make things easier and neater for them.

I have loved the free printables that Ashley and Jamin offer on their site from time to time (I used one on my washi tape wall a while ago), and when I saw this post in January about how to organize kids’ clothing I knew I’d hit the jackpot! Cute drawings, cute colors, AND they’re from The Handmade Home?! Umm…yes, please!


So I picked out the ones I needed and got to work. I used my trusty old washi tape to hang them in the appropriate cubbies and within about 30 minutes I was done! Confession: I used up the last of my heavier cardstock paper printing out signs for Judah’sBeatles party, so these are printed on regular ol’ printer paper with no problems yet. Knock on wood ; )


Since I have separate cubbies for the clothes I lay out for each munster the night before, I used yet another Handmade Home printable, their lovely gift tags. I just opened those up in PicMonkey and added my kiddos’ names in fun colors and called it a day. Victory is mine!


The girls are actually pretty excited to put their clothes away, and Judah is in charge of the socks and undies baskets. I’ll be honest, I do still go in and tidy up those cubbies every couple of days (they’re in plain sight as soon as you walk in!) but all in all, I’d say we have a winner on our hands.

Saturday, April 5, 2014

Party On! Judah's Beatles Birthday Party: Food

I'm back today to share the rest of the details with you about Judah's Beatles birthday party. Last time I told you all about the decorations and activities, and today I'll share my favorite part: the food!


You saw this little sneak peak of our dessert table last time, and I can't wait to show you the specifics. I've got all the inspiration on my Beatles Birthday Party Pinterest board, and I'll post a few links throughout, too.

Here is our menu. We totally went for it on the theme for this party, and it was a blast!


 The cupcakes were just basic white cupcakes (thank you, Betty Crocker!) with white frosting. I wanted a little calm in the midst of all the color we were doing on the table, so white on white made sense there. For the toppers I used these Beatles and Yellow Submarine freebies that I came across on Pinterest. I just did toothpicks with one set of Beatles and six submarines and did the rest with a little bit of washi tape. For display I used the same cupcake stand Mr. Bug made me for Adaleine's Fancy Nancy birthday party and re-covered it in yellow wrapping paper I already had on hand. My cupcake liners are from this Etsy shop.


We served more candy at this party than I usually do, but I went with cost effective and Beatles-related. We had Strawberry Fields Forever, Starr Bursts, Rich Man Gold Coins, and an Octopus's Garden. The garden was made up of carrots, celery and red, green, yellow and orange peppers. For dip I just put some ranch dressing in a bowl and called it good. Simple and easy!


My favorite part of the dessert table (hands down!) were the yellow submarines. It was this little morsel of awesomeness that made me decide to have a Beatles party in the first place! I saw these at my inspiration party and knew it would be a hit. They were really simple to make; just use a little frosting to stick on the Mini M&Ms. Then trim a bendy straw for your periscope and you're all set. I used a record glued onto a candleholder for a stand, and then set the lower levels of submarines on records right on the table. Don't worry, I washed them all first : )


Drinks were a little bit of a splurge in the cost department, but I loved the look of the little cans all lined up together. Once I got that picture in my head, using regular cans just seemed too boring. (I know. I'm ridiculous.) More song lyrics over here! For the Benefit of Mr. Sprite, Here Comes the Sunkist and Love, Love Me Dew. I couldn't think of a Beatles lyric for the water, so I just tossed out the Good Day, Sunshine line and committed. Paper straws (from the Target Dollar Spot) made the area just a bit more festive.

So there you have it! Our very own Beatles Birthday Party! If you want details on party decor and activities, check out the first post here. See you soon!

Tuesday, March 25, 2014

Party On! Judah's Beatles Birthday Party: Decor and Activities


I’m basking in the afterglow of another birthday party! We had Judah’s Beatles birthday party yesterday and it was so much fun! I couldn’t wait to share pictures with you : )


I saw this Beatles party over on Hostess with the Mostess and had to go for it. The invitations she had put together by She Paperie were amazing, but at $2.75 per invite, they were way outside my price range. They are gorgeous though, so if you have the budget for it I would encourage you to take the plunge. I put ours together in PicMonkey and it probably took me about three hours. Once again, lack of sleep pays off! ; )


Upon their arrival, guests were greeted by some {kind of sad} streamers and a Beatles sign on the front door. It got better, though. It was just by the time I got to the front door it was time to go get Eden from school and I was completely out of steam.


I borrowed some old records from a friend of ours and hung them from the ceiling, along with streamers galore! I’m sure if you’ve seen any of my other parties, you’ve noticed a pattern with my décor staples. I just love streamers because they’re a low-cost item that makes such a difference! {Check the other streamer explosions here, here, and here .} Color, color everywhere and I just used rolls that I had left over from other parties. Mama likes free decorations, guys.


I changed up my washi tape wall with some Beatles lyrics printables and our menu for the day. I'll list the sources for all the printables at the end of the post. Again, some of them I created in PicMonkey since I didn't have it in my budget to purchase them, but all the credit goes to the original creators!


I printed off Beatles coloring pages (found here) for the kiddos to work on while we waited for everyone to arrive, and then we let the games begin! The kids got to play musical chairs (to Beatles music, of course) and everyone had so much fun. It's hilarious to watch one- and two-year-olds play musical chairs, by the way. : ) There were even calls to let the adults play their own musical chairs game but our space was too small/I didn’t have enough chairs/we didn’t have enough time.


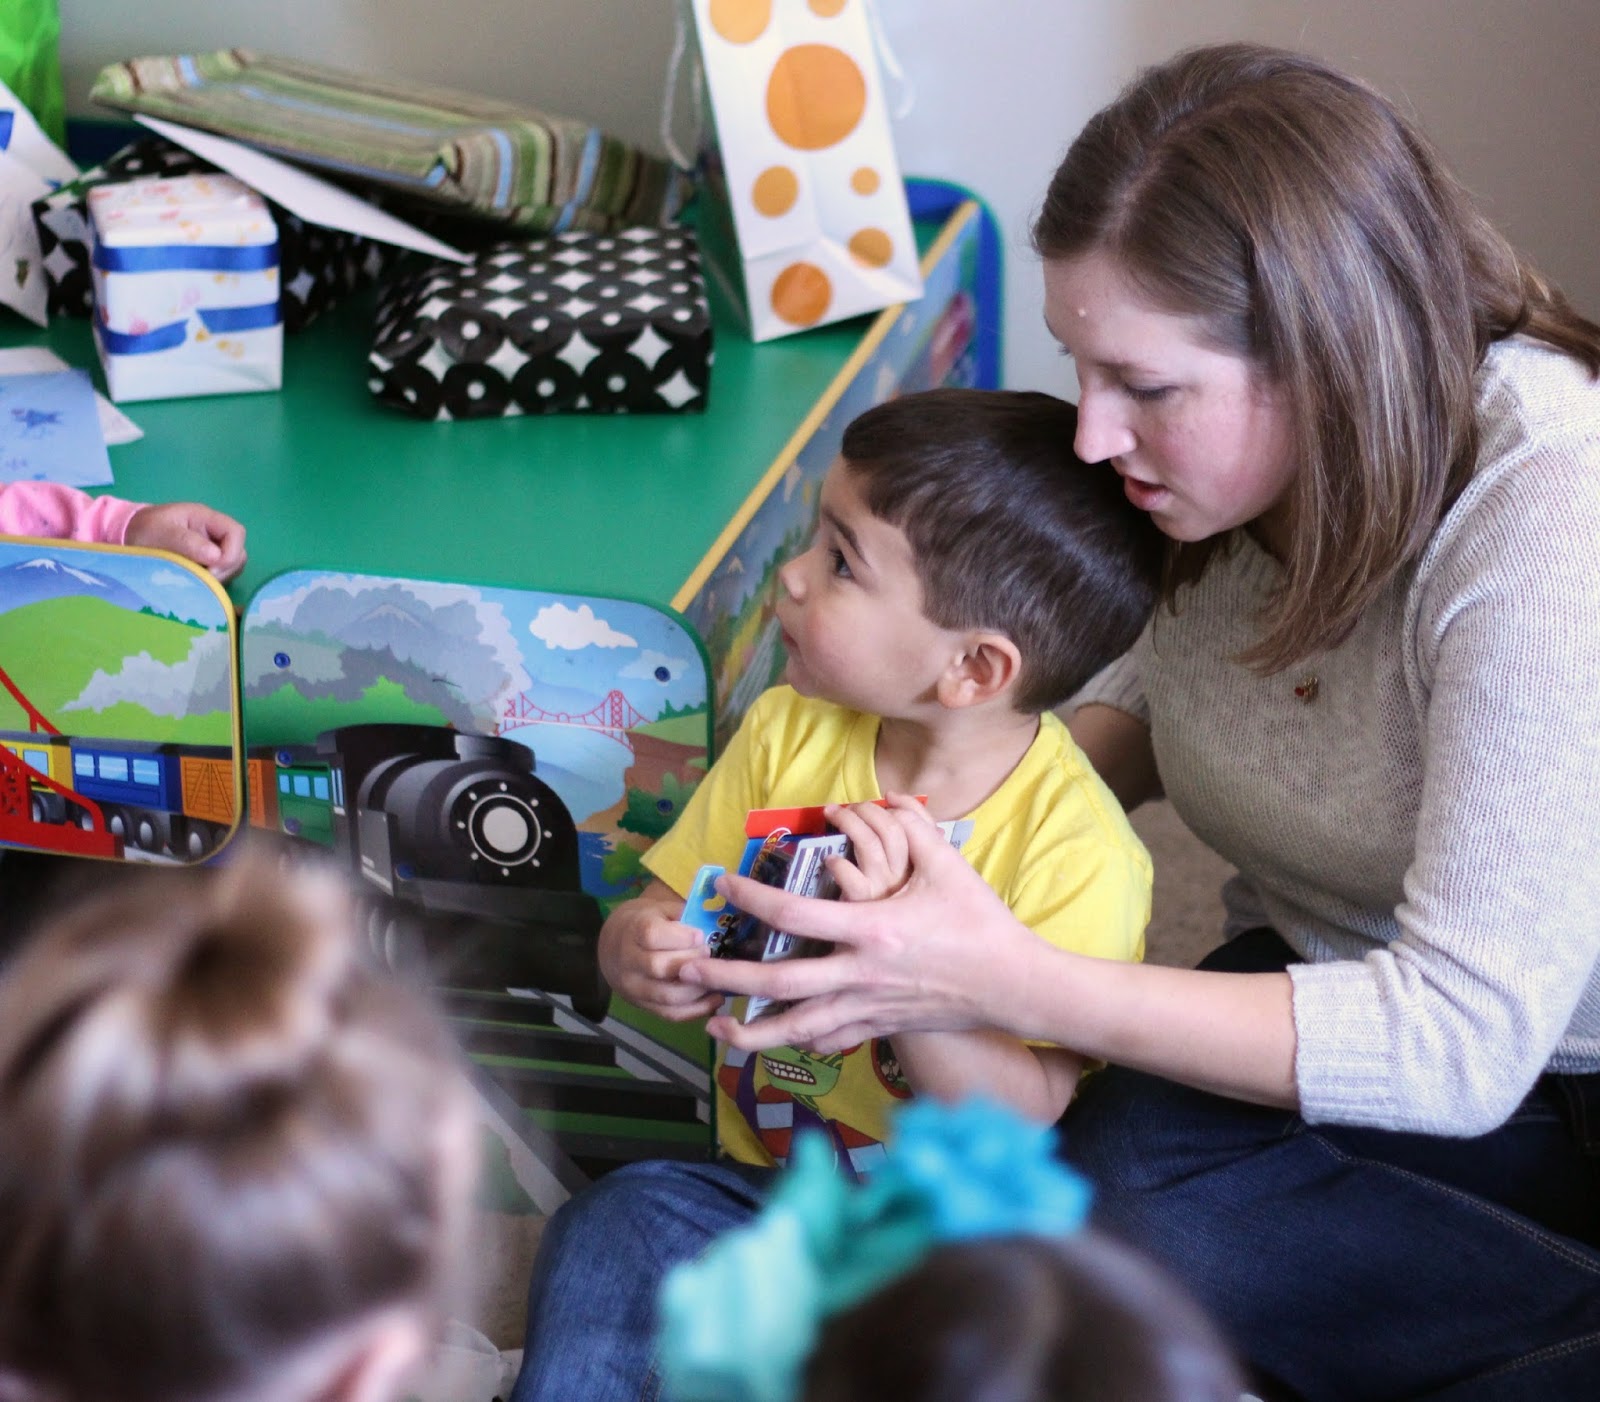
I’ll tell you all about the food in a shorter post later this week, but after breaking for goodies it was time to open presents. This guy got so many toys! We now have about 700 Teenage Mutant Ninja Turtles toys, all the RescueBots, and some more toys I know nothing about. Someone help me : )


Once present time was over the kids went to the playroom to kill some time and the adults busted out The Beatles: Rock Band. We borrowed it from my brother-in-law and it was a huge hit! This was my way to let the grown-ups have fun, too. Kids’ birthday parties can be totally lame so Mr. Bug came up with the idea to have a sing-off. Winner got the Beatles poster you can see in the picture there. 


Here’s our winner (and the friend who loaned us the records). It was so much fun to have everyone rock out to the songs! 


When the little guests left, each one received a Beatles Fan Bag. I got the idea from this same party and this was one of my favorite things to put together. I had them all assembled and ready about two weeks before the party! They included Kaleidoscope Eyes, I Wanna Hold Your Hand Clappers, John Lemonheads, Beatles Juice (which Eden later told me didn't make sense) and Rock Star Sunglasses.


By the time our contest was over and all the kiddos had gone home I was exhausted : ) But I had so much fun with this party! I feel like I was more prepared for this party than I have been for any other, so it wasn’t stressful at all. I just got to enjoy everyone’s company and have a great time celebrating our little man. And this guy had a blast, which would have made any amount of stress worth it anyway. : ) 

 
 Sources for the printables are all in my Beatles Pinterest Board, but I'll list them here, too.


Monday, March 10, 2014

Washi Tape Printable Gallery Wall

We’ve been living in the new house for just about six months now, and I have done very little ‘settling in.’ Nothing’s really decorated, and for the most part I’m pretty much okay with that. I hung posters on the wall in the kids’ room, we have kiddo drawings all over the walls in the office, and we hung curtains in the living room, but that’s really it so far.

The floor plan of the main floor has the living room, dining area and kitchen all really open as soon as you walk in the front door. There is one wall in the dining area that was just begging for some love. Since funds were limited (aren’t they always?) I wanted to get creative and come up with something simple and pretty but inexpensive. 


Enter the giant frame. I found a 30x40” frame on a Facebook exchange group for $5! I love the look of gallery walls, but picking up a bunch of frames can get pricey, so I decided it was time to jump on the washi tape bandwagon. I didn’t see any I loved at Hobby Lobby, but Walmart actually came through for me!


I hopped on my Printables board on Pinterest and selected a few of my {free} favorites. From there it was just a matter of printing them out and figuring out the best layout. Well, that and convincing Mr. Bug to hang the frame for me that night after work.  : ) He was a really great sport to do it for me on only four hours of sleep. Husband for the win‼


You can find all of these on my Pinterest board (and some other really cute ones) but I’ll link them all up at the end of the post, too. The whole project cost me less than $10 for the frame and the washi tape, and that’s even adding in a couple bucks for cardstock and printer ink. Not bad, huh?
Now I sit there in the morning to drink my coffee/try to get the girls to eat their breakfast and look at my lovely wall and smile. 


Find Joy in the Journey
C.S. Lewis Quote
Feathers
Love the Lord your God - from The Handmade Home
Bowls
Oh, Hello Hexagons
Pray More, Worry Less
Julia Child Quote - This one is Eden's favorite : ) She thinks it's hilarious!
Be Kind - this is our family motto. If the kids are struggling in their playtime together I just ask them what our sign says and they know just what I mean.  

*The 'Be Brave, Little One' and the Bible verse are just ones that I put together in PicMonkey. I'm putting them in the post so you can use them if you'd like. Let me know if you do! And I can't remember where I found the sideways one in the middle. Sorry!*


Friday, January 17, 2014

Quick Craft: Gold Herringbone Mirror


I’ve mentioned it before, but Young House Love is one of my favorite blogs out there. I’ve been quite inspired by a lot of their projects, and today’s post is no exception.


A few weeks ago, they posted about hanging a little mirror low on the wall so that their daughter could see herself in it. I thought my girls would enjoy that so much, but since we have little kiddos at our house just about every week I knew any mirror we hung needed to be super light. 

On a miracle solo trip to Target last weekend, I found just what I was looking for. I picked up a little plastic white mirror for about $5 measuring just under 16” across. The plain white plastic frame wasn’t doing it for me, but that’s where YHL came in again.

Taking a cue from their herringbone doll cradle, I bought a set of gold Sharpies (on clearance at Target for only $.88!) and dove right in. All it took was my mirror, my gold Sharpie, and a straight edge—in my case, I used the side of the box of our Mousetrap game. Mr. Bug hung with me and I knocked it out while we watched the newest Mindy Project episode. 


It’s not perfect but I was happy with the results and the girls were really excited. Not sure if I'm going to add any paint colors to any of the sections the way they did or just leave it as is. I'm also pretty stoked that I got this whole project done for around $6!

It’s not hung in their room yet, but I’m shooting for getting it up there in the next few days. I’ve had some sort of weird cold/fever/nausea thing the past couple of days so I’ve taken a break from all things housework-y. I haven’t even put away all of the groceries I got at the store yesterday. No judging, please : )
 
BLOG TEMPLATE BY DESIGNER BLOGS